The following video will show how to author a post on a blog. Scroll down for a step-by-step guide.

Posts are added to blogs by going into the blog from the Home page. By default, posts on blogs appear with the most recently added post at the top and then in reverse chronological order. It is possible for blog administrators to pin a post to the top of a blog. This is detailed in the section Pinning a Blog Post.
It is also possible to schedule blog posts. Details about this can be seen in the Scheduling Posts section.
Users who have read only access to a blog will not be able to add posts.
Users who have comment access will not be able to add a post but will be able to add comments to existing posts.
Teachers must be in edit view to add blog posts. Do this by sliding the switch at the top: 
To add a new post, go into the blog and click on the ![]() on the top right-hand corner to open the Create Post screen.
on the top right-hand corner to open the Create Post screen.
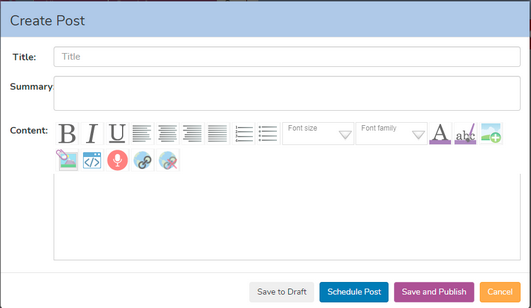
Fill in the required details. The Title and Summary will appear on the front page of the blog. The Content can be seen when the blog is clicked on by the reader.
The summary should be a brief description of what the blog post is about. It challenges children to summarise their work in an appealing way, thinking of the reader of the blog.
The Content style can be formatted using the Text Tools
![]() Attach Picture button: Click to open the Clip art Picker to select clip art or upload images.
Attach Picture button: Click to open the Clip art Picker to select clip art or upload images.
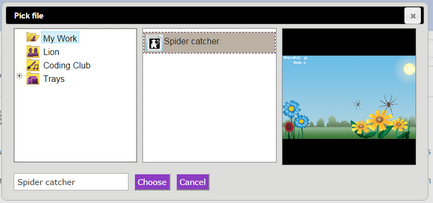
![]() Attach Work button: Attach saved work from Purple Mash. The work on the posts is "live", so if a child has (for example), created a game in 2Code, that game will be playable from the blog. Click the button, to open the Pick File screen. Click on the name of the piece of work, to see a preview image of the work. Click Choose. More than one piece of work can be attached.
Attach Work button: Attach saved work from Purple Mash. The work on the posts is "live", so if a child has (for example), created a game in 2Code, that game will be playable from the blog. Click the button, to open the Pick File screen. Click on the name of the piece of work, to see a preview image of the work. Click Choose. More than one piece of work can be attached.
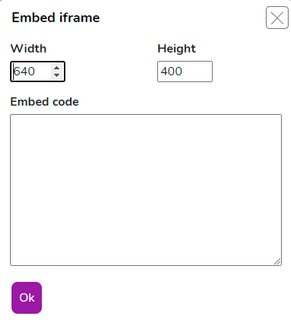
![]() Embed iFrame: This allows embedded videos from other sites into blog posts. Use the embed code from the video - this is usually found as a sharing option on the video hosting site. Click on the Embed iFrame button and paste the embed code into the box:
Embed iFrame: This allows embedded videos from other sites into blog posts. Use the embed code from the video - this is usually found as a sharing option on the video hosting site. Click on the Embed iFrame button and paste the embed code into the box:
![]() Sound: Attach sound to the blog, clicking here will allow recording up to two minutes of sound.
Sound: Attach sound to the blog, clicking here will allow recording up to two minutes of sound.
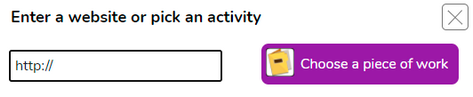
![]() Add/Remove link: Add hyper-links that will open in a new tab. Or remove an existing link. Type some text that will become click-able to make the link and highlight/select it. Then click the Add Link button. Enter the web address or chose a piece of Purple Mash work to link to:
Add/Remove link: Add hyper-links that will open in a new tab. Or remove an existing link. Type some text that will become click-able to make the link and highlight/select it. Then click the Add Link button. Enter the web address or chose a piece of Purple Mash work to link to:
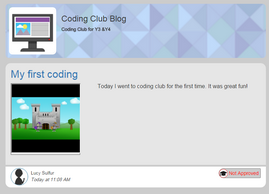
When all of the details have been filled in, click Save and publish to save the post and send it to the teacher for approval (if the post is being written by a child and Teacher approval was required). Children will see their post as it will look. The Not Approved indicator on the bottom right shows that this post still needs to be approved by the teacher before it will appear on the blog for everyone else to see.
The author of the post can then click on it to open the post and click on the Edit button if they wish to make any changes.
